
Tips of the week You should know why you are doing squats
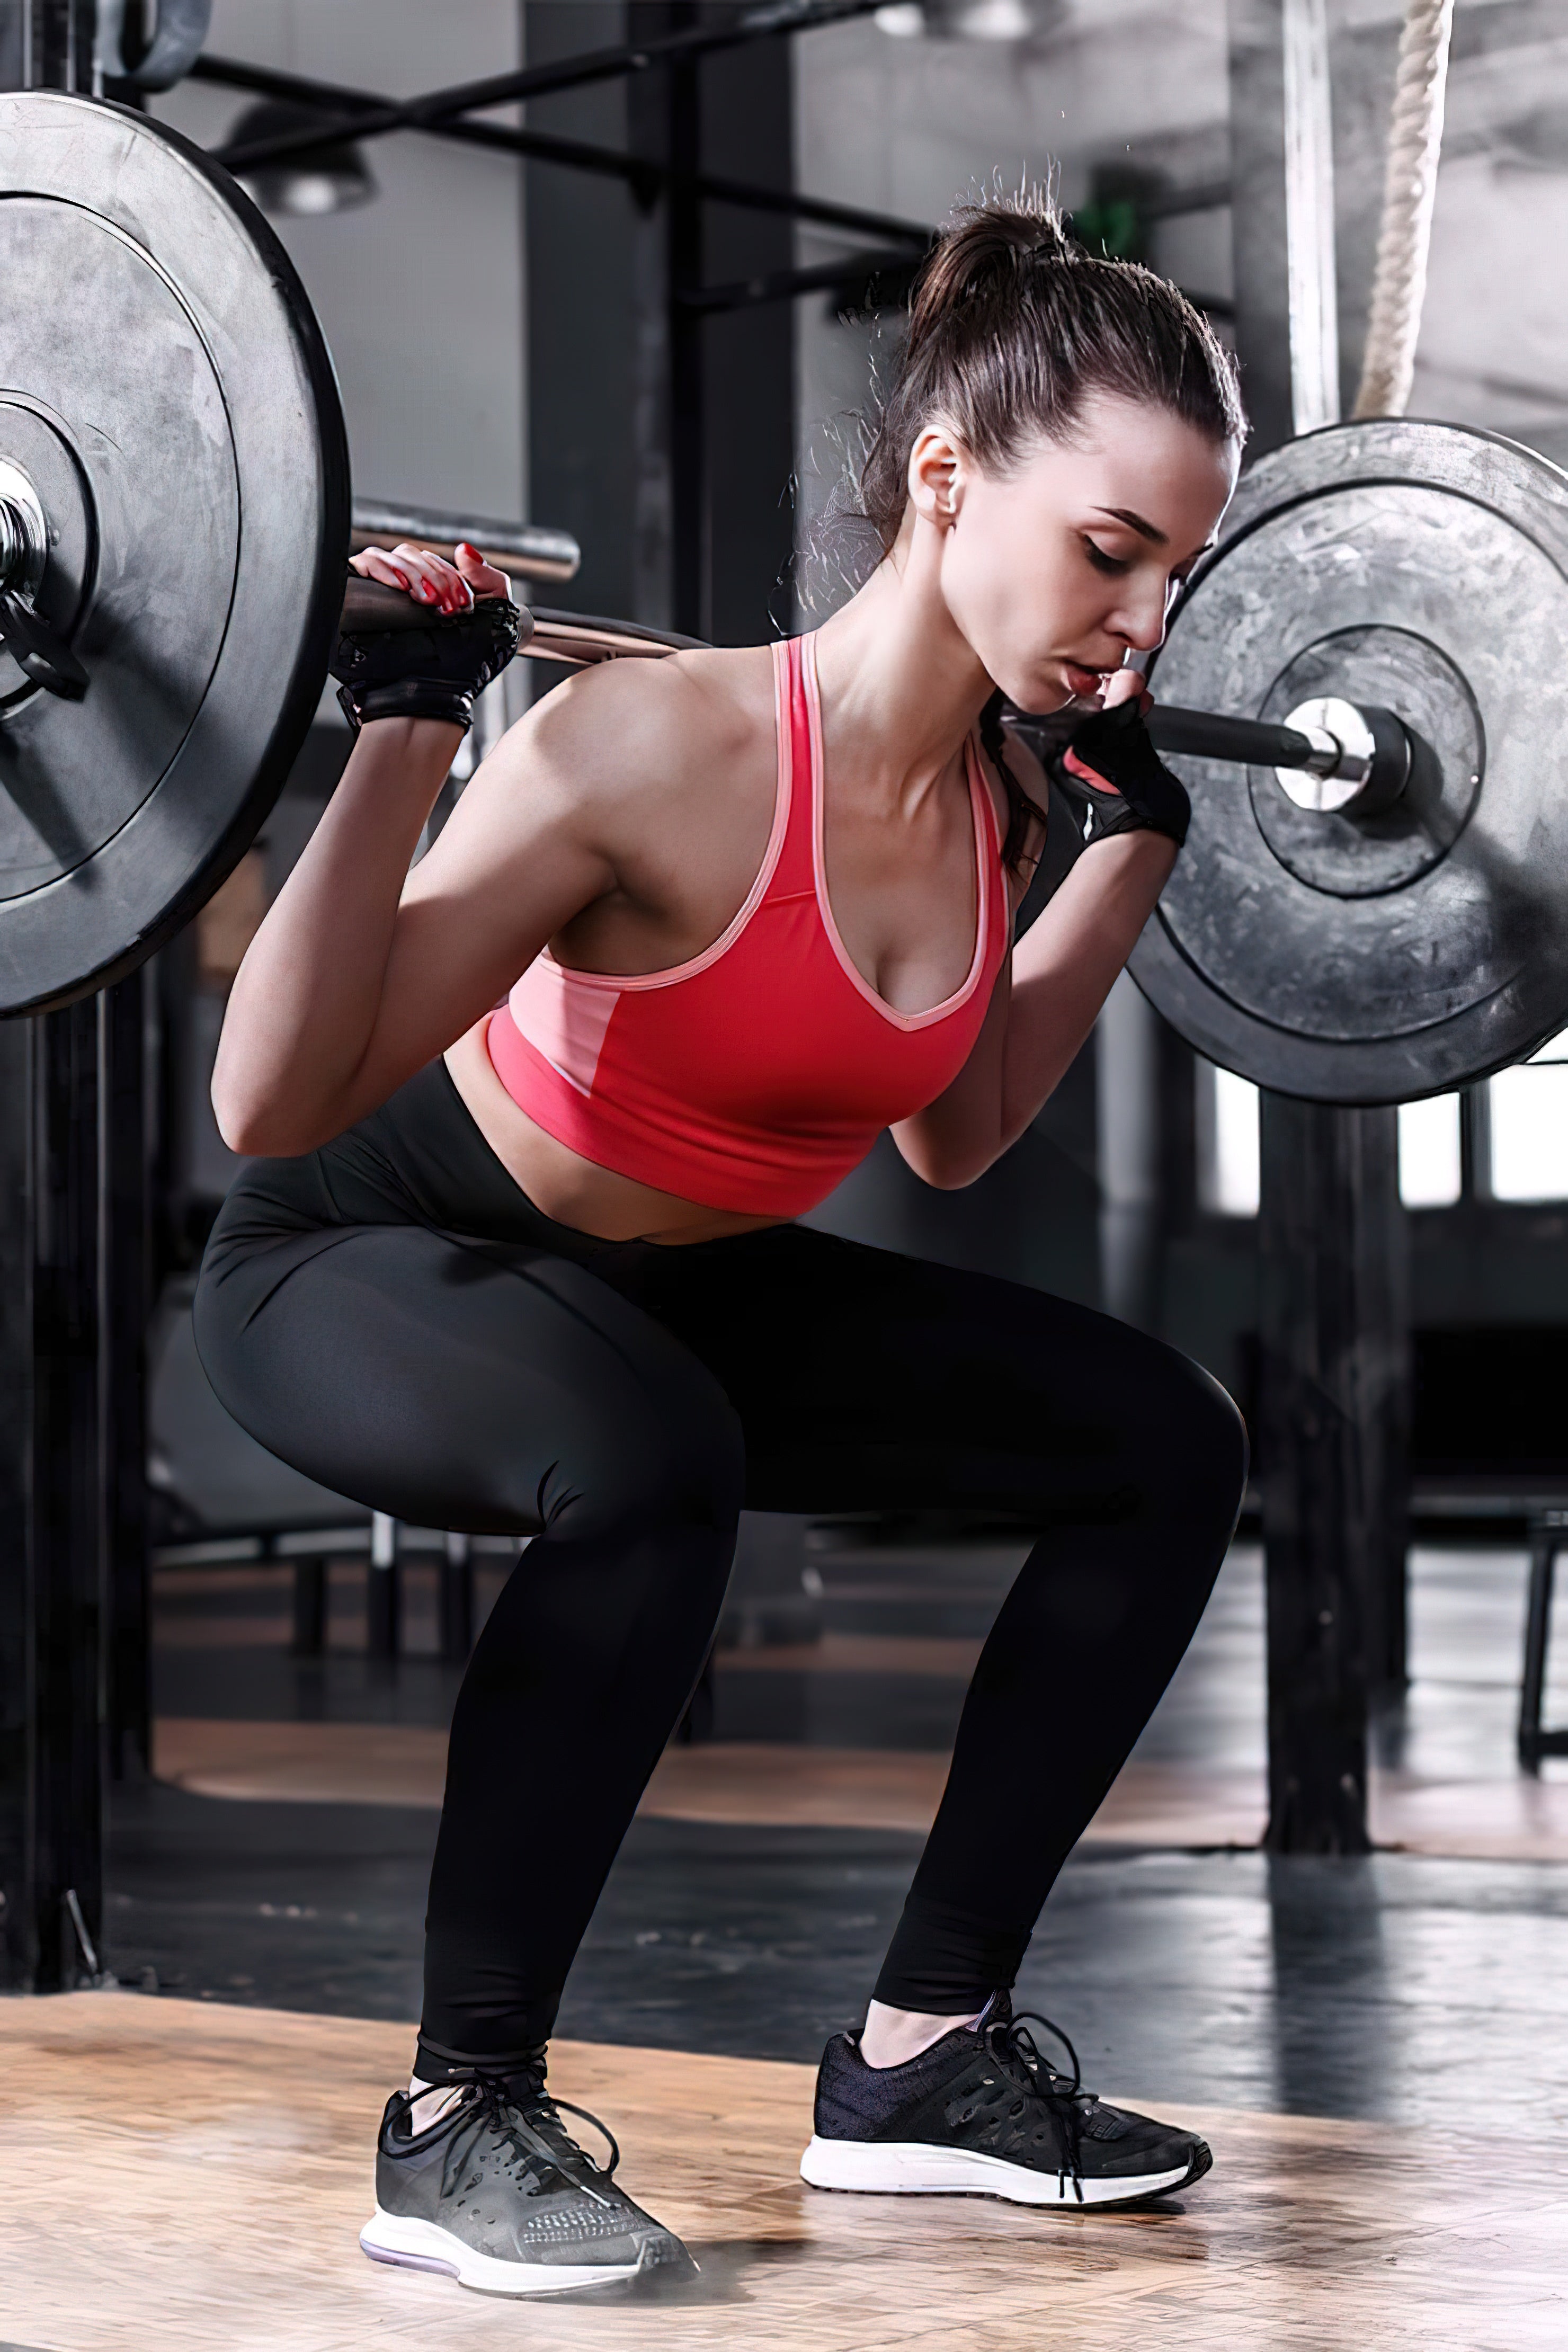
Are you training for bodybuilding purposes or do you want to improve your powerlifting performance? Knowing this answer will make a huge difference to your squat performance.
Here are the fundamental differences between squats for powerlifting purposes (increasing 1 RM weight) and squats for bodybuilding purposes (an increase in muscle mass).
- Repetitions: Mix low and high reps for hypertrophy (8 to 12 and even sets of 25 or 50 reps) and use lower reps for strength (1 to 5).
- Weight: Always aim to get stronger, but when it comes to hypertrophy, you can build muscle with heavier weights and lighter weights. For strength, however, you should always train quite heavy.
- Tempo: You should know how to use tempo to your advantage to build muscle and strength. Tempo with slow eccentric (negative) repetitions is often helpful for bodybuilding, but has no place in powerlifting.
- Time under tension: Prolonged time under tension is great for hypertrophy, but not so great for strength.
- Bar placement: In general, you should use a high bar position on your back for bodybuilding squats and a low bar position for strength training.
- Body position: Keep your body upright when trying to build muscle (if you are a bigger exerciser then you will tend to lean forward when moving heavy weights, but this is fine). In powerlifting, body position doesn't matter so much. Just use what works well.
- Rest intervals: Mix short and long rest intervals to build muscle. If you're training for strength, rest for at least three minutes between sets to maximize recovery and strength.
- Range of motion: A simple rule of thumb for both disciplines is that you should go as low as you can without pain or discomfort. Work on your flexibility if you need to improve your range of motion.
- Stance: In general, bodybuilding squats require a closer foot spacing, whereas for powerlifting squats you are better off with a more hip-dominant stance. However, your squat stance will be very much based on the genetic construction of your hips, so you should choose a stance that you are comfortable with.
- Muscle contraction: If you are trying to build muscle, make sure you focus on contracting the muscles as hard as possible. The pause time at the highest point of the movement is a good time to consciously contract the muscles as hard as possible. Forget conscious tensing for powerlifting. Keep your body under tension, but use the time to recover briefly so that you are strong for the next repetition(s).
Tip: Use windmill planks for your core
This is one of the best core exercises for strength and power athletes
By Joel Seedman, PhD
Source: https://www.t-nation.com/training/tip-do-the-windmill-plank-for-your-core
Good coordination of neuromuscular recruitment and the ability to transfer force between the hips, core and upper torso is critical for both athletic performance and heavy strength training. Side Windmill Planks are one of the few exercises that require the upper torso, core and hip muscles to work together synergistically in a controlled, high-tension isometric exercise.
Windmill Planks
https://www.youtube.com/watch?v=Isl60BBgp4U
Start with both feet on top of each other. Once you have achieved good form in this basic position, try to incorporate a hip abduction by lifting the top leg while keeping both feet perfectly parallel to each other.
This plank variation will quickly expose and address energy leaks that may exist between different segments of the body such as the hips and core.
Tip: Take this grip strength test
If you don't pass this test, then your grip strength is really modest or you're too fat
By Travis Pollen
Source: https://www.t-nation.com/training/tip-take-this-grip-strength-test
Absolute strength refers to the total amount of weight you can move - your 1 RM weight. Relative strength refers to your strength relative to your body weight. One of the simplest and most basic tests of relative strength is isometric hold pull-ups.
Isometric hold for pull-ups
Standard: Hang from a pull-up bar with your preferred grip (neutral grip, overhand grip or underhand grip) and slightly flexed hips for 20 seconds.
Advanced version: Do the whole thing with just one arm and try again to hold for 20 seconds.
What if you can't do it?
Spend several weeks practicing cluster sets of isometric pull-up holds. Start with sets of four 5-second hold phases and gradually progress to longer phases.
Tip: Push, pull, bend and stretch
When putting together your training plan, divide your body into four quadrants.
By Mike Sheridan
Source: https://www.t-nation.com/training/tip-push-pull-bend-and-extend
Planning your workouts and training days around the different muscle groups can be a daunting task. However, dividing your body into four quadrants and thinking about how you can incorporate the four basic exercises makes planning the training program quite simple:
- Upper Body Push
- Upper body pull (pull)
- Lower body push (knees bent)
- Lower body pull (hip extension)
When planning your workouts, think about how you can incorporate a push, a pull, a bend and an extension and you can't lose. Dedicate a day to each movement, group them together to get an upper body day and a lower body day or put them all together in a total body workout. Whichever way you go, you need to get really strong and feel comfortable with these four primary exercises.
Examples of a breakdown of exercises
2-days/week:
- Upper body day 1 - push/pull
- Lower body day 2 - bend/extend
- or
- Upper body/lower body day 1 - push/stretch
- Upper body/lower body day 2 - pull/pull
4-days/week
- Upper body day 1 - stretch
- Upper body day 2 - bend
- Lower body day 1 - push
- Lower body day 2 - pull
You can still train your biceps, triceps and core if you want, but your program design should revolve around push, pull, bend and stretch. These exercises are the be-all and end-all. Everything else is just the garnish.
Tip: Perform lat pulldowns with paused repetitions
A simple technique and a change in grip can make lat pulldowns work much better.
By Lee Boyce
Source: https://www.t-nation.com/training/tip-do-paused-rep-pulldowns
Taking a pause at the point of maximum contraction - when the bar is at its lowest position - can be a humbling experience. The amount of mid-back activation added by a simple 1-second pause can cause deep-seated muscle soreness that can linger for days after the workout. Use a wide underhand grip. The external rotation brings the rear shoulder muscles into play as a bonus.
Lat pull-ups with paused repetitions
Traditional pull-ups and lat pull-ups pass through this region with limited attention to speed control. It's a real testament to your mid-back strength if you can control the weight at the point of maximum contraction.
You can also try this on pull-ups, but chances are your technique will be less than stellar. I had to reduce the weight by more than 50% on this exercise to maintain good form on all 8 reps. Even if someone only has to reduce the weight by 10%, that's still significantly less weight than their total body weight. Hanging from a bar and trying the same with your pull-ups will be even harder if you are quite muscular. When it comes to isolating the muscles of the mid-back, less is usually more.
Tip: Use elevator squats for muscular legs
End your leg day with this hypertrophy-inducing workout method
By Ben Bruno
Source: https://www.t-nation.com/training/tip-do-elevator-squats-for-big-legs
You can use the elevator method on a variety of different exercises, but the basic concept is to start each repetition by performing a half repetition, then a three-quarter repetition, then a full repetition, and repeat for each repetition. The combination of half, three-quarter and full repetitions counts as one repetition. Repeat the sequence in this order for the desired number of repetitions.
Chair front squats
- Go all the way down and then halfway up again.
- Go back down and then three quarters of the way up.
- Go down again and then all the way up.
If this sounds hellish, that's because it is - and that's just repetition. Repeat for the desired number of repetitions.
I like to use a list to control the depth, but that's just a personal preference. If you forgo the box, be careful not to abbreviate the downward movement during the set when your legs start to scream.
Elevator squats with the barbell in the neck
Interestingly, I don't perform heavy classic squats because my knees and back don't like it, but I find it okay to perform elevator squats because the weight is significantly lighter than the weight I would normally use in squats. This technique could be an option for those who love classic squats but get knee or lower back issues with heavy squats. Keep the reps in the 3 to 8 range - by that I mean 3 to 8 elevator reps, of course.
When should you do elevator squats?
Elevator squats work best at the end of a training session, after you've done the heavy workout of the day or on days when your body doesn't feel like a heavy workout but you still want to get a good training effect. Elevator squats can also be a useful way to get stubborn muscle groups growing again with a new stimulus.
Don't forgo the heavy stuff altogether, as it's always about getting stronger too, but the more tools you have in your toolbox, the better off you'll be in the long run.
Tip: Perform key press for the pecs
Stimulate your chest in a whole new way with this effective exercise.
By Lee Boyce
Source: https://www.t-nation.com/training/tip-do-the-key-press-for-pecs
Grab a pair of dumbbells and a reverse incline bench. Start with an underhand grip at the lowest point of the movement. This means that your palms are facing your face. As you push the dumbbells up, rotate them so that they are in a neutral position at the highest point of the movement, meaning that the palms are facing each other.
Make sure that you keep the press force perpendicular to the floor and not perpendicular to your body (after all, you are lying on a reverse incline bench).
The benefits of key presses
https://www.youtube.com/watch?v=pO_IIEb0DTE
- The reverse incline limits the involvement of the front shoulder muscles. This is a good thing if your front shoulder muscles tend to take over when you try to train your chest muscles.
- This position also allows you a shorter distance to the extended arm position, which means more involvement of the pectoral muscles in the sternum area.
- The bottom position of the exercise causes external rotation of the humerus, which brings the pectoral muscles to the optimal length for maximum contraction.
- The use of dumbbells allows you to play with the elbow position a little during the movement, which can protect you from excessive strain on your shoulders.
Source: https://www.t-nation.com/training/tip-know-why-youre-squatting
From Rob King