
The complete guide to big biceps and triceps
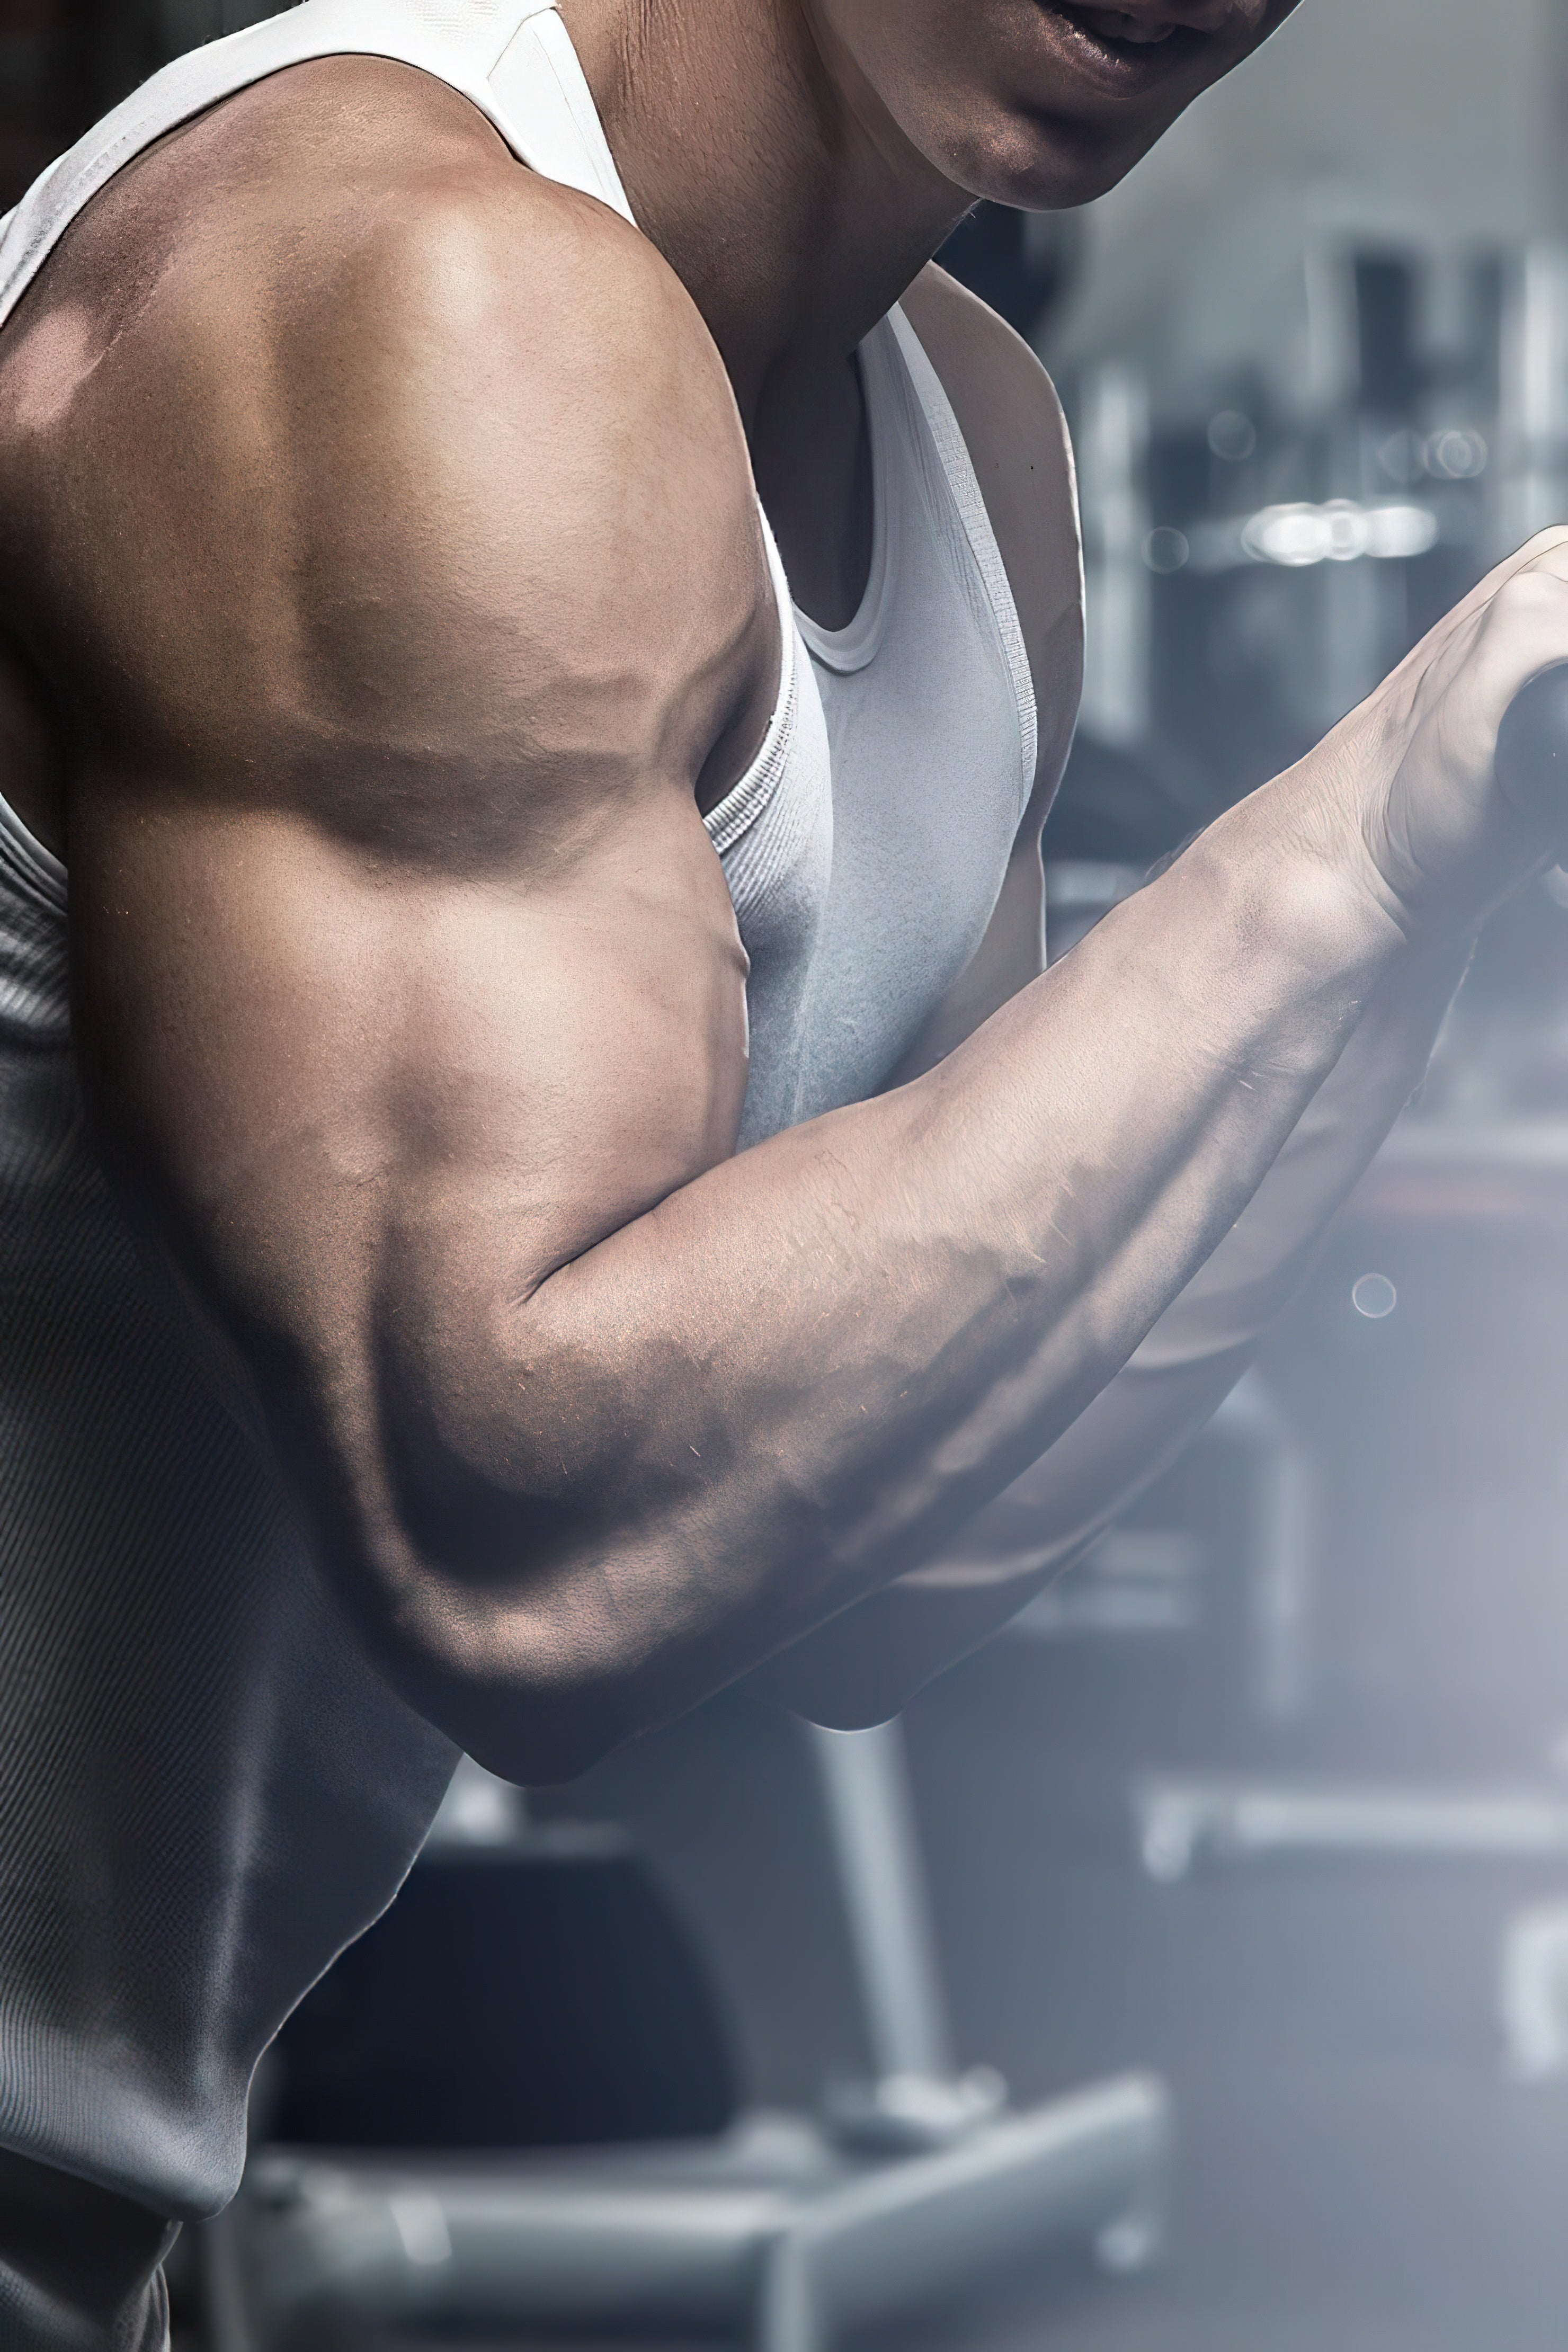
Massive, muscular arms. You want them. And we're talking about pure muscle mass here - not fat mass. Nobody cares how big your upper arm circumference is if your arm muscles are encased in 5 centimetres of fat. If you don't have a single visible vein protruding from your biceps, then you still have some work to do. This article will show you what you should do.
The secret to muscular arms
To make anything on your body bigger, you need to grow as a whole. While you can build up certain areas to a certain extent without a major increase in body weight, if we're talking about adding 5 centimeters to your upper arms, then your whole body needs to grow.
For every 2.5 centimeters you gain in upper arm circumference, you need to gain between 5 and 7 kilos of lean body mass. The larger your arms are, the higher this value will be. An exerciser who wants to increase their upper arm circumference from 37.5 to 42.5 cm may need to gain 15 kilos, but an exerciser who wants to go from 47.4 to 52.5 centimetres will need to gain between 12 and 15 kilos.
This is the reason why it is so difficult to achieve an impressive upper arm circumference of 50 centimetres. Unless you are genetically programmed to have huge arms, you will need to become more muscular overall to achieve such monstrous proportions. There is no one with 75 kilos who walks around with 50 centimeters of upper arms. This is also the reason why the program described below includes back and leg training.
Know your points of highest resistance
Most exercises with free weights offer maximum resistance in different areas of the range of motion. Since the biceps consist of two heads and the underlying brachialis, each of these areas will end up with slightly more tension in certain exercises depending on the wrist/elbow position and resistance curve.
Even if the term "isolate" is not quite correct, you can shift a greater proportion of the tension to certain areas. In this way you will achieve a more complete development. In the program presented, you will perform three exercises for the triceps and three exercises for the biceps - one exercise for each maximum point of the strength curve - using mainly barbells and dumbbells:
- At the beginning of the first quarter of the range of motion.
- At the middle point of the movement.
- At the end point of the exercise.
A simple rule for arm training
Follow this simple rule before your next workout to prevent elbow problems: Biceps before triceps and biceps and triceps together.
Perform your bicep workout first. This will increase the blood flow around the elbow and provide a kind of "cushion" for the triceps training that follows. In addition to this, you should always train your arms completely on the same day. I've split the arms up at different times, but I've always made the best progress when I've trained biceps and triceps together.
Biceps
1 - Barbell curls with grip modification
This is all about the middle section of the strength curve. You'll perform this exercise in a way that shifts a little more tension to the short head of the biceps first and then change the grip to bring the whole family into play.
Start with a wider-than-shoulder-width grip, pulling your elbows to the side of your body. To bring the short head of the biceps more into play, press your elbows to the side of your body while rotating your hands outward hard against the bar. Try to literally bend the bar as you perform the curl movement. Perform 5 repetitions. Then switch to a shoulder-width grip and perform 5 more repetitions, keeping your elbows pulled to the side of your body. Perform 5 sets of 10 repetitions, using the same weight for all 5 sets.
Choose a weight that allows you to focus on achieving a very hard contraction at the highest point of the movement - not a weight that you have to heave upwards with momentum.
2 - From incline bench curls to standing hammer curls
This is our exercise for the beginning of the strength curve. The first quarter of the movement is usually where the resistance is at its highest. This exercise emphasizes the long head of the biceps and the brachialis.
Exercises like this load the muscle in a stretched position and offer tremendous growth potential. Performing dumbbell curls with the palms facing forward instead of towards each other will place the biceps in a more extended position, stretching the long head of the biceps in particular. There will be an enormous amount of tension at the starting point of the movement.
Use a weight that allows you to perform 10 repetitions with good form. Sit on an incline bench with a steep backrest and perform 10 reps, then immediately stand up and perform hammer curls. Perform as many hammer curls as possible while standing. Perform a total of 4 sets of 10 repetitions with the same weight, although you should find it difficult to complete the fourth set.
3 - Concentration curls prone on an incline bench
https://www.youtube.com/watch?v=jqnll8hqqHA
This exercise targets the long head of the biceps - the end of the resistance curve. Lie prone on an incline bench with the working arm hanging straight down. Curl and consciously tense the biceps hard at the highest point of the movement, where the resistance curve reaches its maximum. When you reach the highest point of the movement, lift the elbow slightly to further shorten the biceps and achieve a harder contraction (one function of the biceps is shoulder flexion). Control the dumbbell during the lowering movement.
Train one arm at a time. You will find it easier to concentrate on the contraction. Three sets of descending sets of 8 repetitions are the completion of the bicep workout. Use a pair of dumbbells with which you can only perform 8 repetitions. Perform a set of 8 repetitions until muscle failure and then immediately grab a lighter weight with which you can perform another 8 repetitions until muscle failure and repeat the whole thing one more time. Rest for 2 or 3 minutes and repeat for two more rounds.
Triceps
Triceps have three heads, which is where the name triceps comes from. Have you ever seen a guy from behind whose triceps looked like two hams hanging off the back of his arms? That's excellent development of the long and middle muscle head. Have you ever seen a guy whose triceps stuck out to the side, giving his arms an amazing 3D look? That's excellent development of the lateral muscle head.
And just like with the biceps, depending on the exercise and how it is performed, certain muscle heads will get more tension than others. Of course, all three muscle heads will be involved in each exercise, but at this point we are talking about shifting most of the tension to a specific area.
1 - Cable tricep press with a rope grip or a grip with the ends pointing down at an angle
This exercise targets the lateral and middle head of the muscle - and the end of the resistance curve. You can perform this exercise with a grip with the ends pointing diagonally downwards or a rope grip, with the latter you can specifically turn your hands outwards at the lowest point of the movement, but you will achieve a much harder contraction with a simple trick.
At the lowest point of the movement, turn your hands down as hard as you can, trying to turn your hands so that your knuckles are pointing towards the floor. They may not actually point down in the end, but trying to achieve this will create an intense contraction. Perform 5 sets of 12 reps, using the same weight for all 5 sets.
2 - Bench press with reverse grip on the multi press
This exercise targets the lateral and middle muscle head - and the middle section of the strength curve. When bench pressing with a reverse grip, you may find it difficult to hold the bar. This can get to the point where you focus too much on simply moving the weight and trying to stabilize the triceps instead of loading them. Try this exercise on the multi press and you won't have to worry about stabilization. Instead, you'll be able to pull your elbows in tightly and put all the weight on your triceps - especially during the eccentric phase of the movement.
Do not move the bar all the way down to your chest. End the downward movement a few centimeters higher to ensure that your triceps are under enormous tension the entire time. After 3 to 4 warm-up sets, perform 3 to 4 heavy sets of 6 to 8 repetitions, working your way up to a heavy set and then reducing the weight on each subsequent set.
3 - PJR Pullovers (PJR Pullovers)
https://www.youtube.com/watch?v=aIvrpTYIUUU
This exercise targets the long muscle head - the start of the resistance curve. An adduction of the arms is performed by the long muscle head of the triceps, which works together with the latissimus.
No other exercise trains the long head of the triceps as effectively as this one. The key here is to drop the dumbbell down as soon as it passes your forehead and then push it back up using the triceps to the extended arm position.
Perform 1 to 2 sets. Keep the weight slightly lighter and perform more repetitions rather than trying to use ultra-heavy weights. Due to the degree of stretch involved, too heavy a weight could lead to injury. Stick to 1 to 2 sets of 15 to 30 repetitions to give your triceps the rest.
The foundation for body-wide muscle mass: training for your back and legs
Simply going to the gym and only training your arms will not be enough. As you may remember, the size of your arms is limited by the total muscle mass of your body. So do back and leg workouts too, but keep it simple. This will look easy on paper, but the execution will be anything but.
Legs & back: training session 1
Squats
Perform 2 sets of 20 repetitions. Take as much time as you need between these two sets - up to 10 minutes between sets 1 and 2.
Choose a weight with which you can perform 20 repetitions. If you can only do 18 reps, stick with that weight until you can do 20 reps. If you can do more than 20 repetitions, increase the weight. Increase the weight as often as possible while maintaining good form.
Deadlift deficit with straight legs
https://www.youtube.com/watch?v=qgsEuQIVaZ8
Perform one set of 15 repetitions, giving it your all. Perform the exercise through the entire range of motion, starting from the floor with a slight bend in the knees. Your latissimus, trapezius, gluteus, hamstrings and everything else on the back of your legs will be completely wiped out after this set. It's only one set, but you have to do it to make it count.
Legs & Back: Workout 2
Walking lunges
Perform walking lunges for the first 15 minutes. Only with your own body weight. Count how many lunges you can do in 15 minutes and try to beat the previous week's total each week.
Pull-ups with an underhand grip
Do these for 15 minutes. Again, you only use your own body weight and count the number of total repetitions. And then try to exceed this value every week. If you are one of those 70 kilo guys who can do 4000 pull-ups in one set, then use so much extra weight that you can only do 15 reps per set.
The program
Day 1 - Legs and back
|
|
Exercise |
Sets |
|
|
A |
Squats |
2 |
20 |
|
B |
Deadlift with straight legs |
1 |
15 |
Day 2 - Arms
|
|
Exercise |
Sets |
|
|
A |
Barbell curls with change of grip |
5 |
10 |
|
B1 |
Incline bench curls |
4 |
10 |
|
B2 |
Hammer Curl |
4 |
AMAP* |
|
C |
Concentration curls prone on an incline bench |
3 |
8 |
|
Use descending sets. Perform 8 repetitions, take a lighter weight and perform 8 repetitions and then take an even lighter weight and perform 8 more repetitions |
|||
|
C |
Tricep press on the cable pulley with a rope handle or a handle with the ends pointing downwards at an angle |
5 |
12 |
|
D |
Bench press with reverse grip on the multi press |
3-4 |
6-8 |
|
E |
PJR pullover |
1-2 |
15-30 |
* AMAP = as many repetitions as possible
Day 3 - No training
Day 4 - Legs and back
|
|
Exercise |
Sets |
|
|
A |
Lunges * |
15 min. |
* |
|
B |
Pull-ups (any variation) * |
15 min. |
* |
* 15 minutes, counting the total repetitions.
Day 5 - Repeat the arm day
Day 6 & 7 - Training free days
Source: https://www.t-nation.com/workouts/no-bs-arm-building-program
By Paul Carter